Creating Flutter app in Android studio
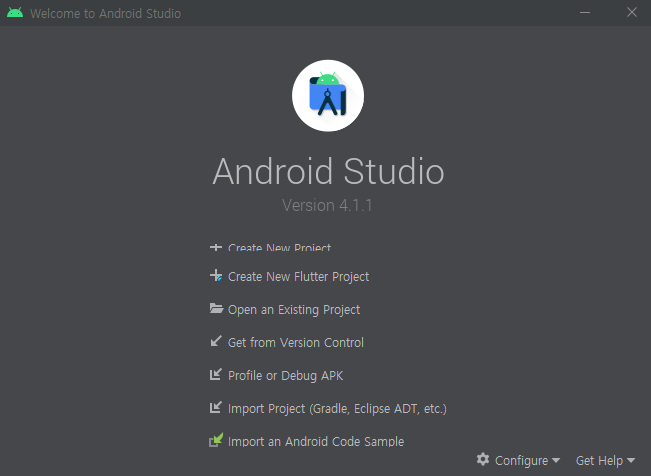
- Open Android studio
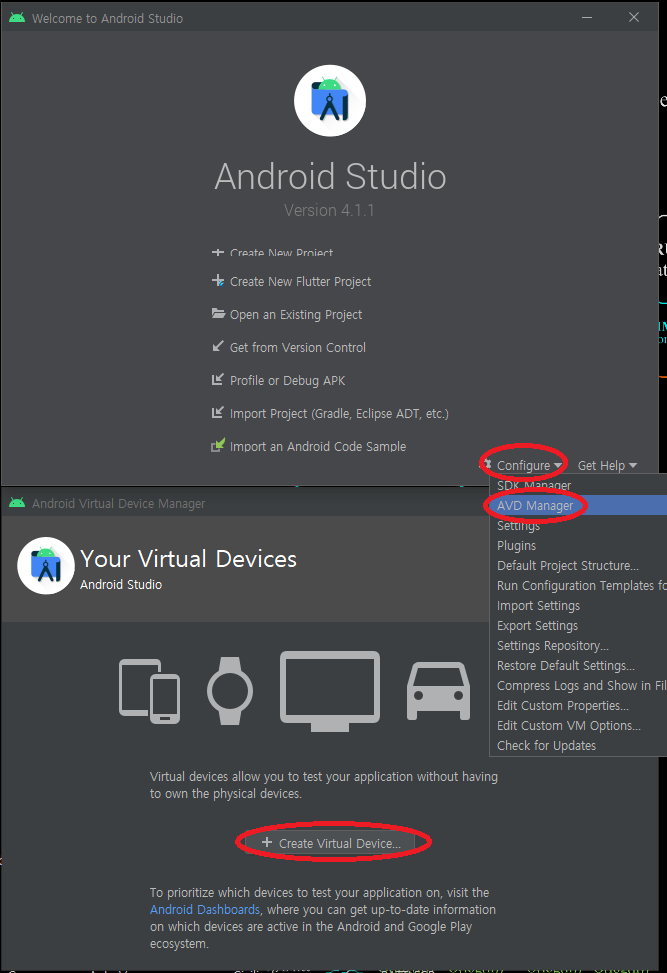
- Configure - AVD Manager - Create Virtual Device…
- Select hardware - Next - Select System Image - Next
- Download skin https://developer.samsung.com/galaxy-emulator-skin/guide.html
- Unzip in
Android Studio > plugins > android > lib > device-art-resources
- New Hardware Profile -> add appropriate device name, screen size, resolution, RAM
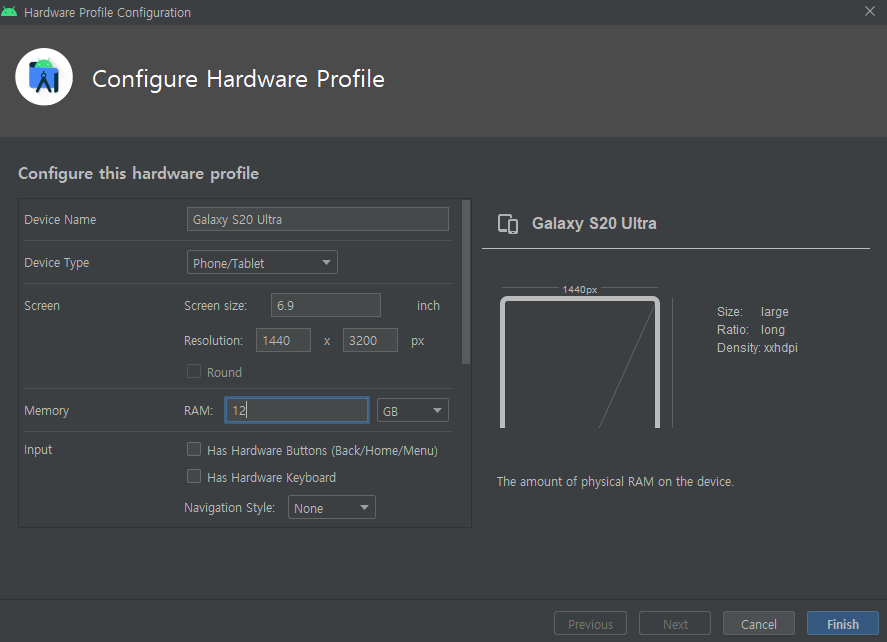
- Scroll down and set Default skin folder to the ones you downloaded.
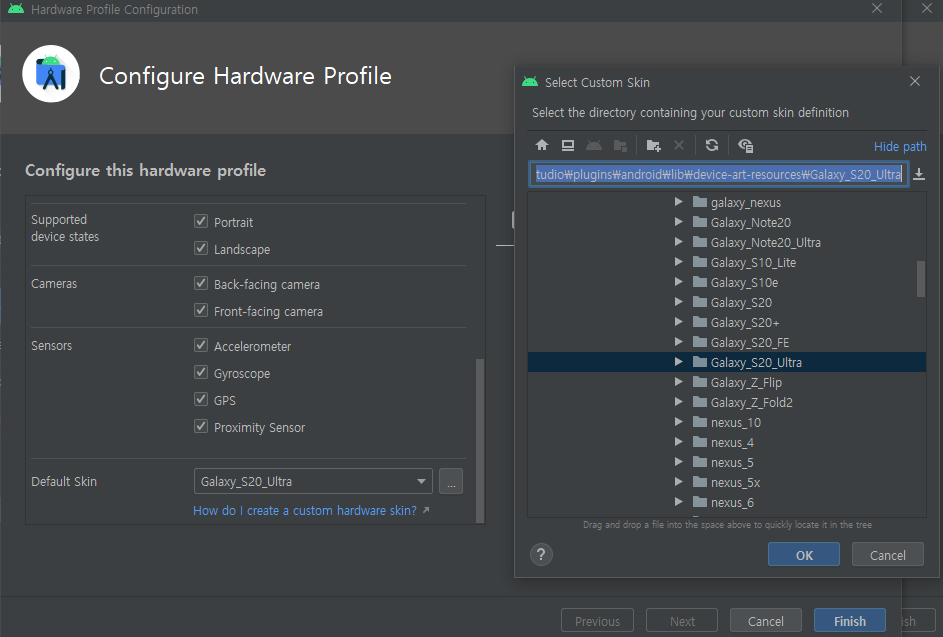
- Finish
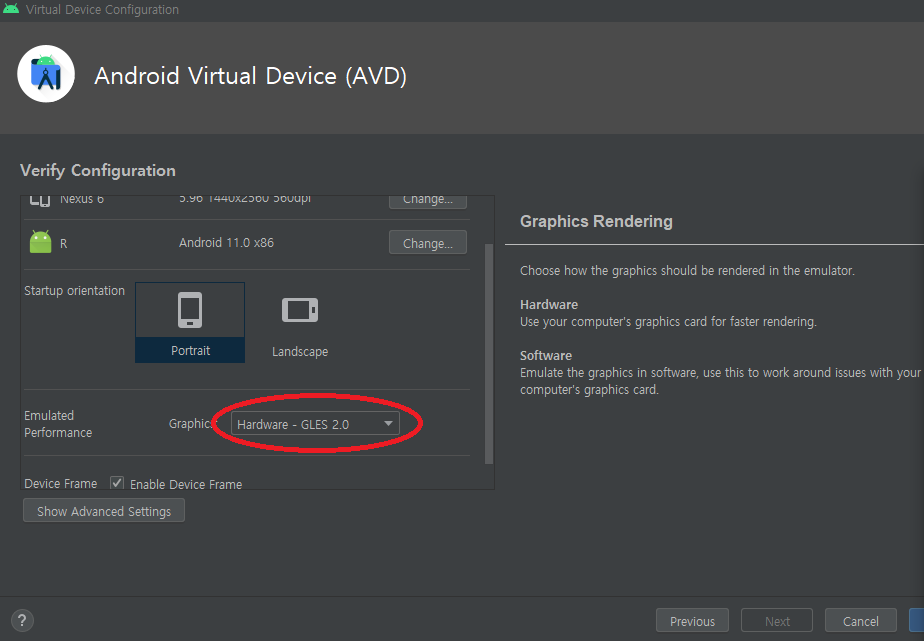
- Change Graphics –> Hardware - GLES 2.0 for faster rendering –> Finish
This is the screen when you are done with emulator setup

- From initial Android Studio : Create New Flutter Project - Flutter Application - Next
- If Flutter SDK path is empty: put flutter path (e.g. D:\src\flutter) - Next - Finish
- Choose virtual machine and run (shift + F10) (It take some time for the first run)
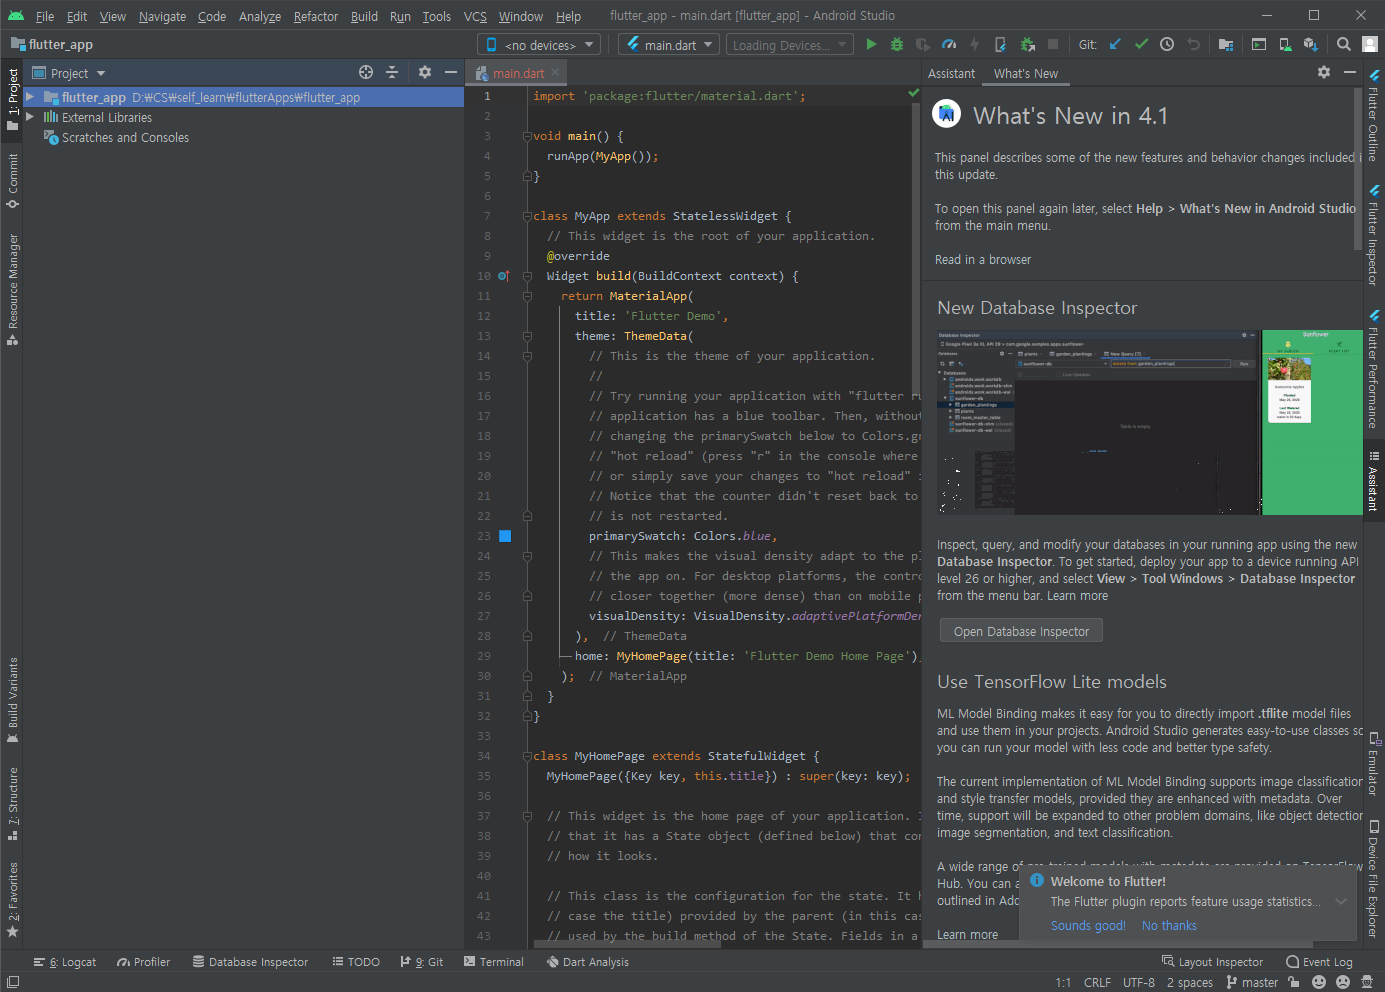
- We will work on main.dart 99% of the time.
- If you want to re-run press cntl + shift + \